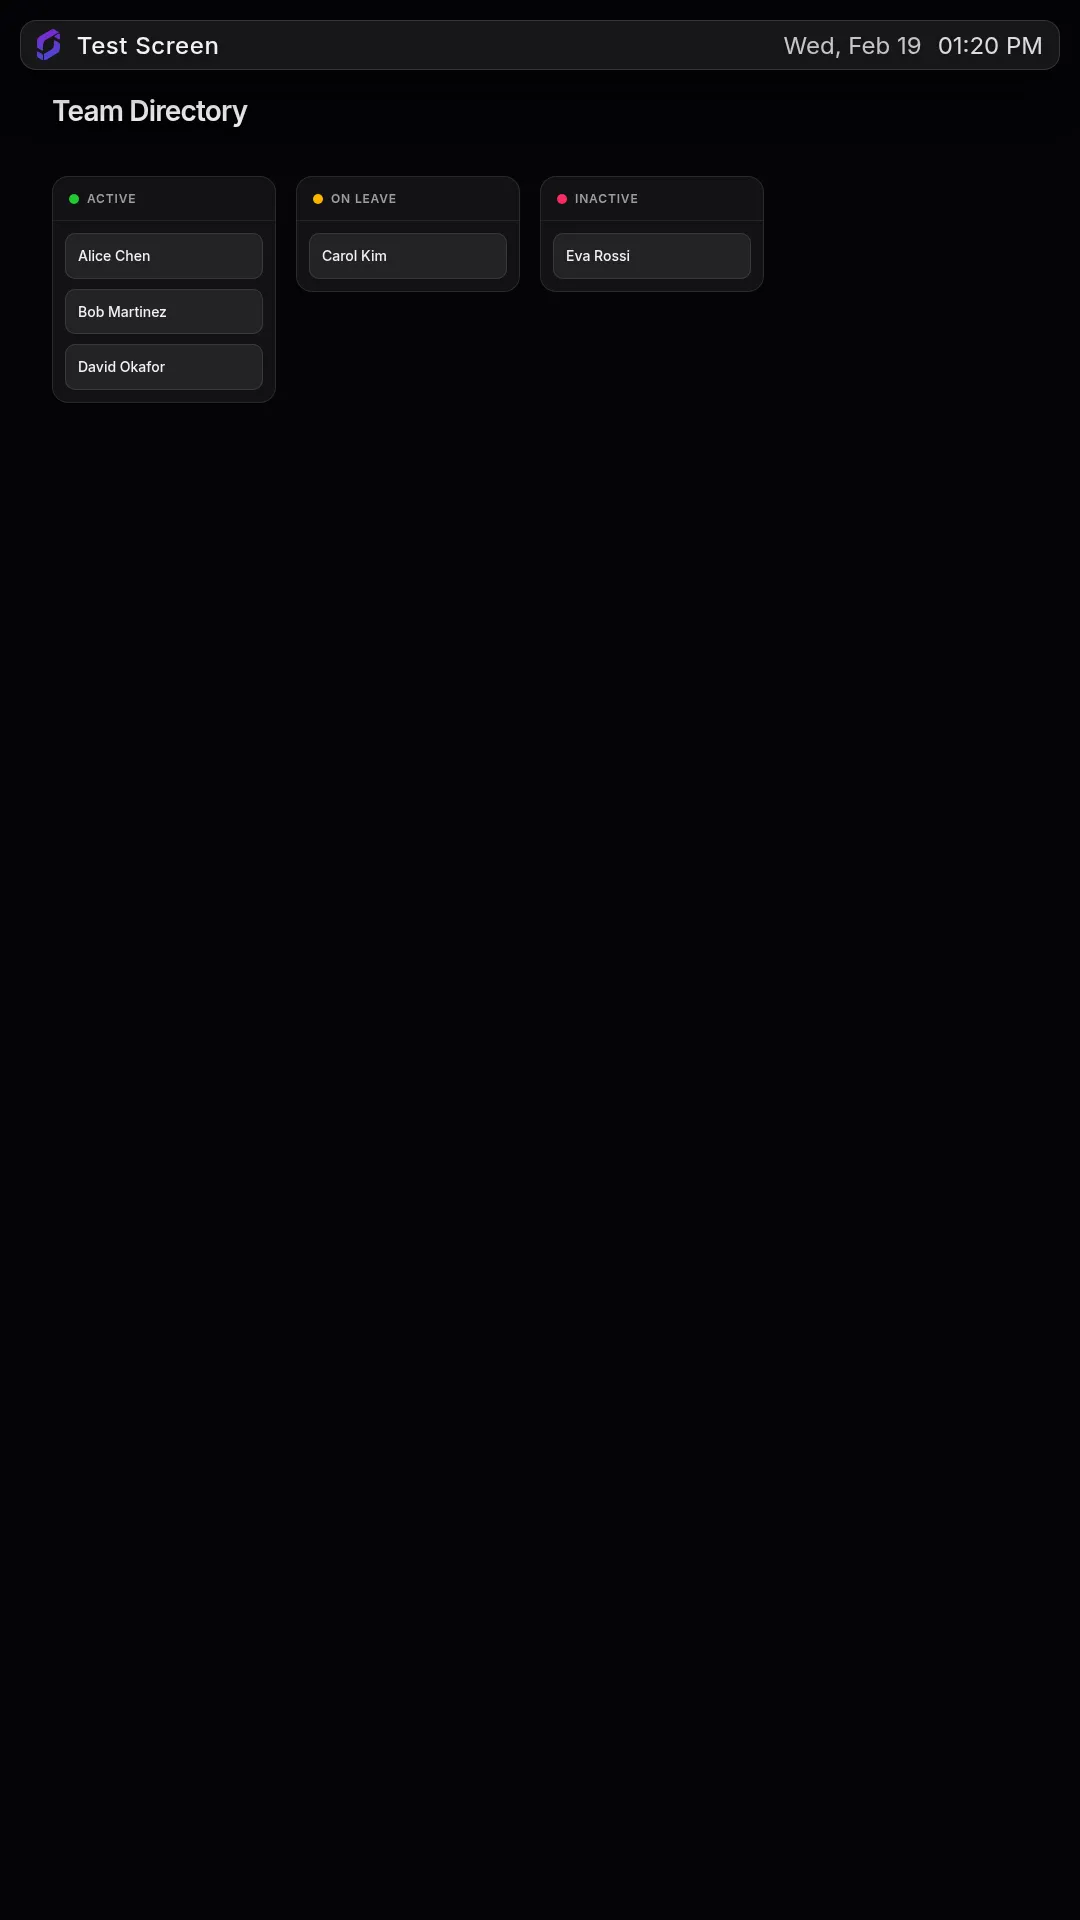
A responsive App for displaying Airtable data on digital signage screens.
Airtable Dashboard App
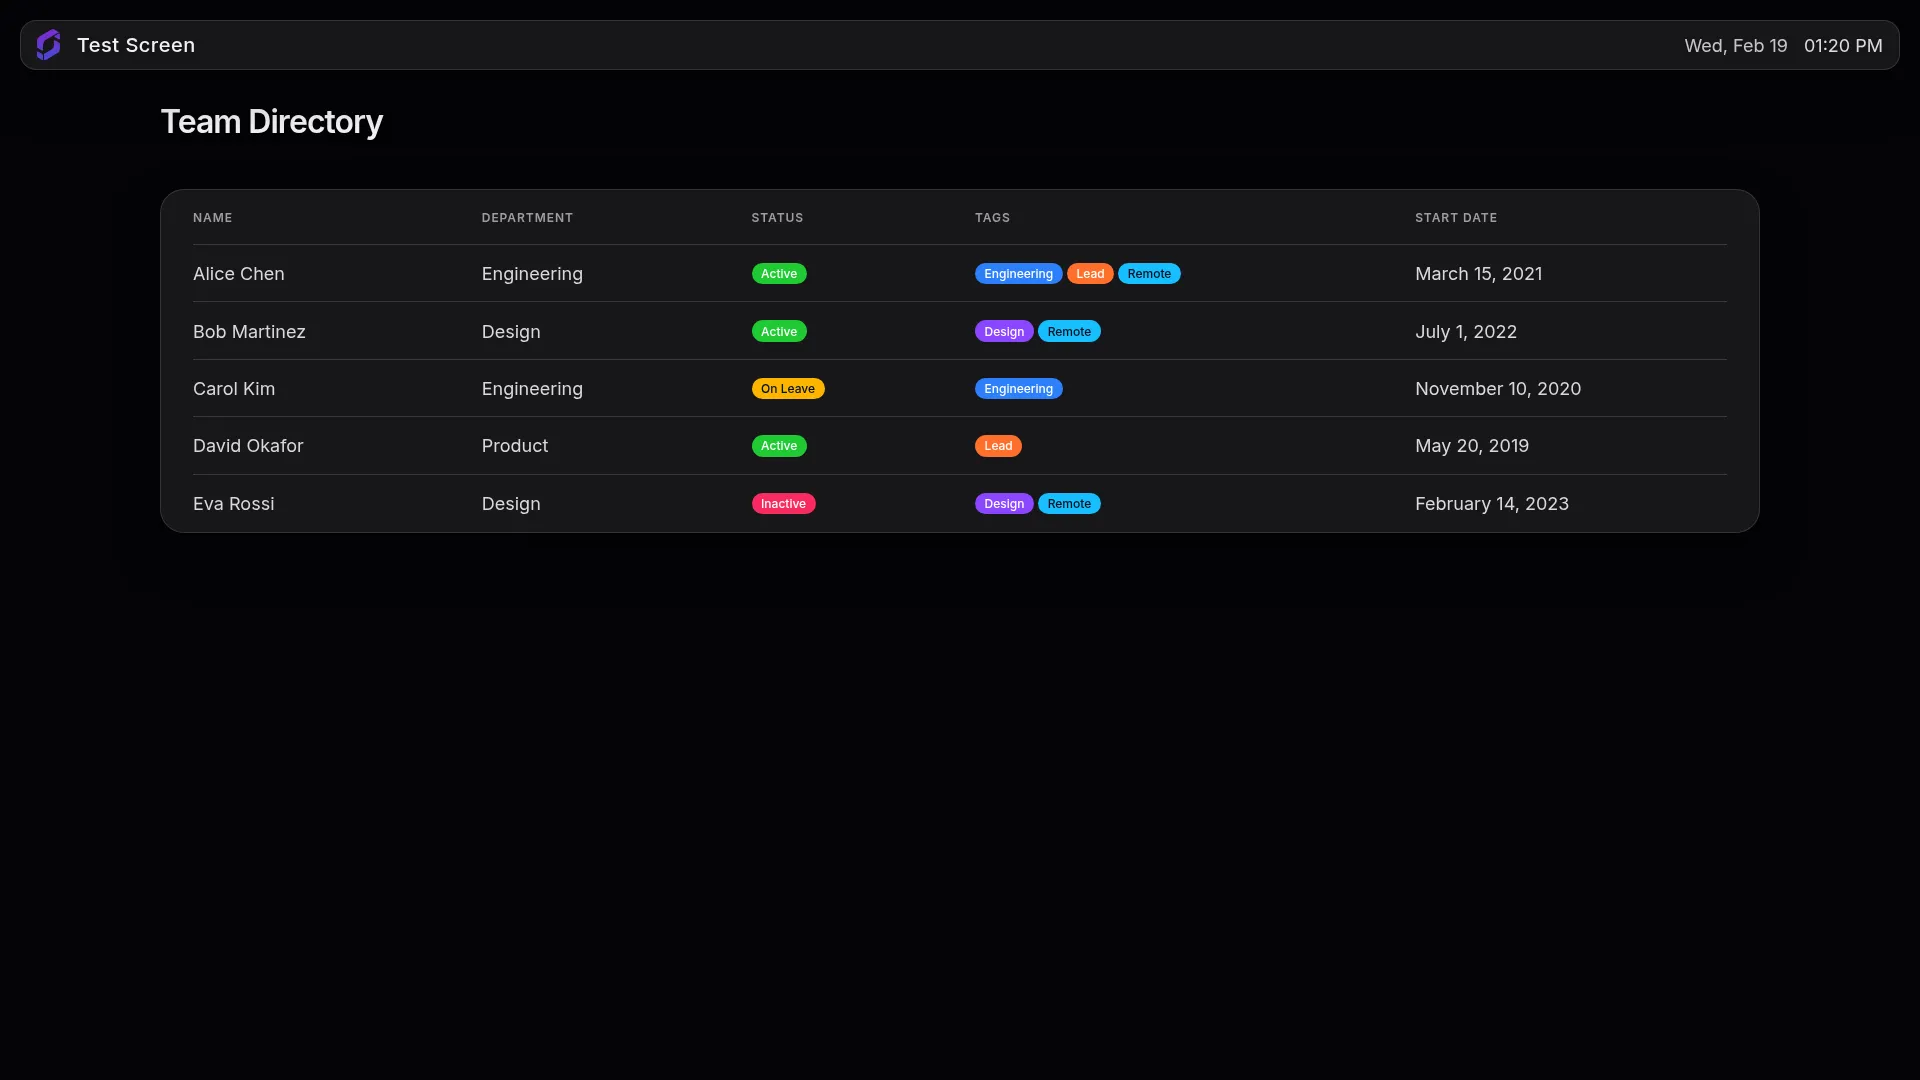
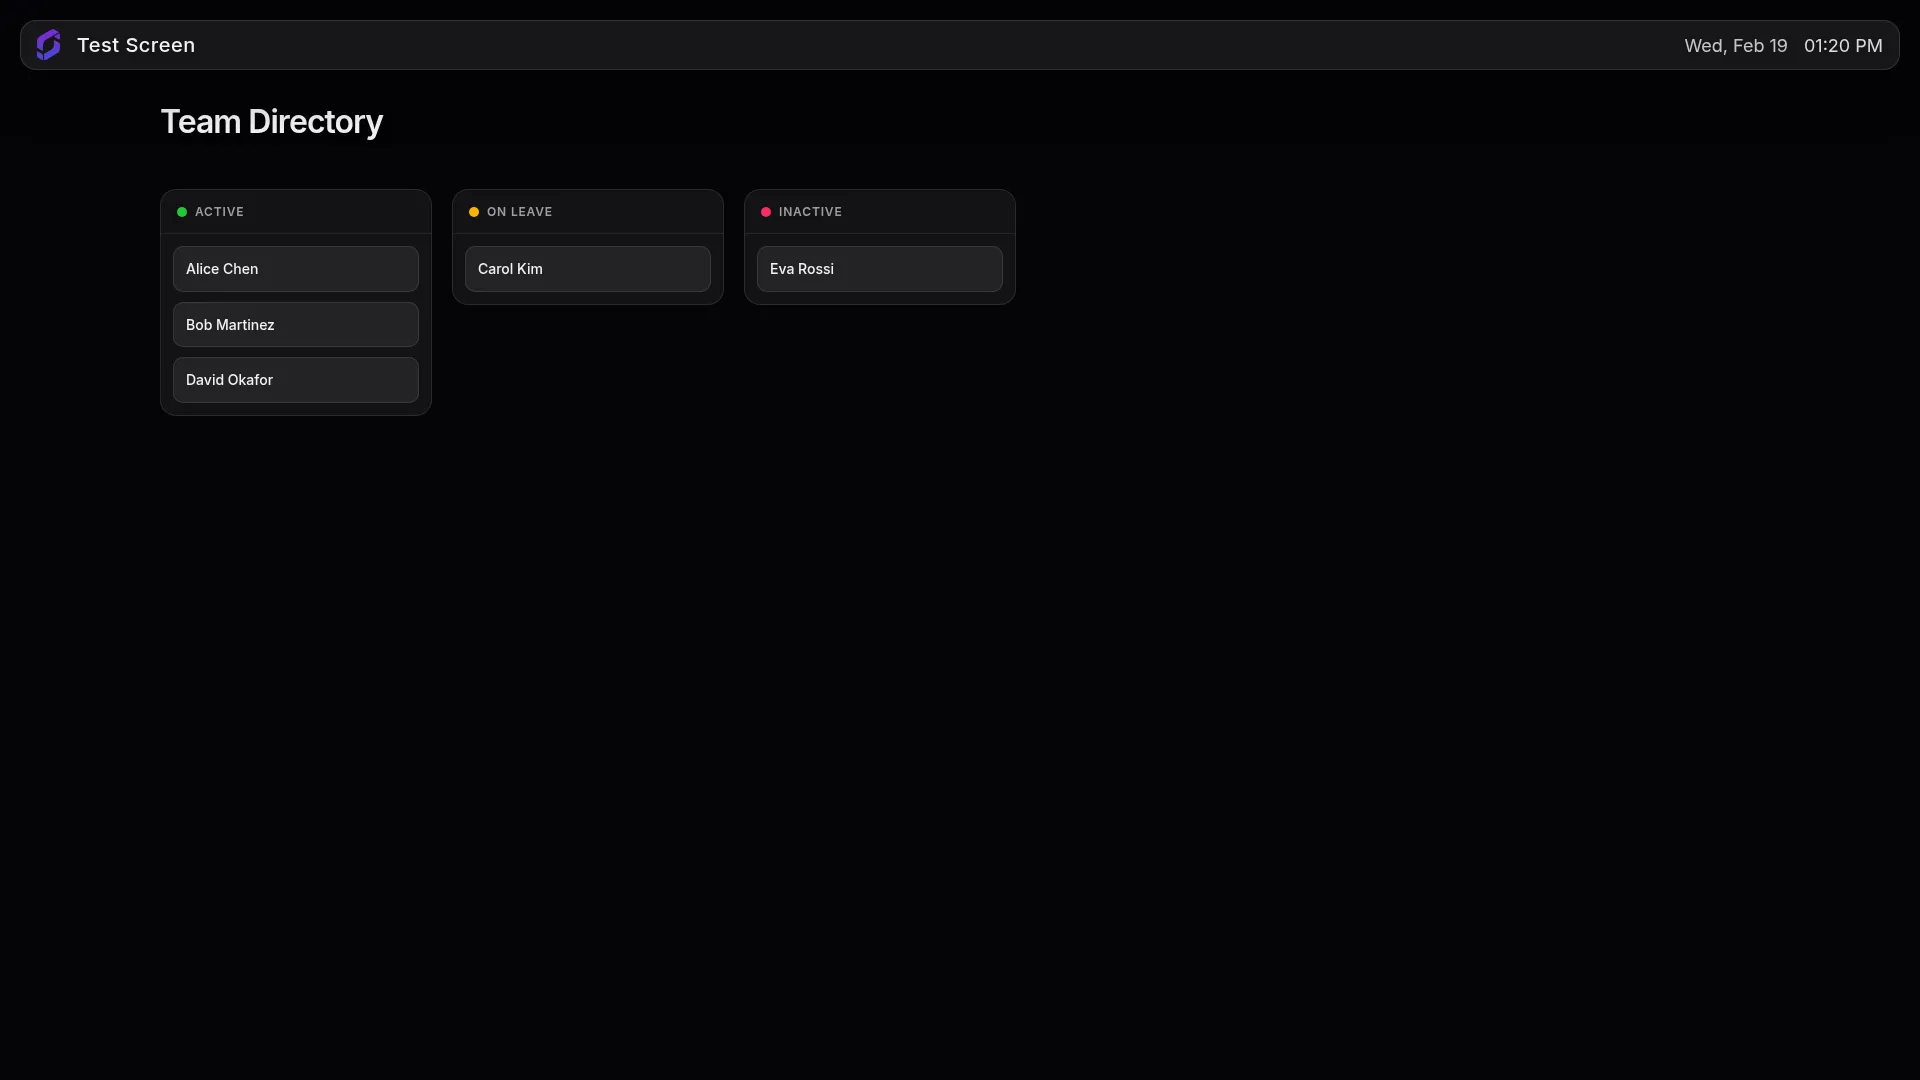
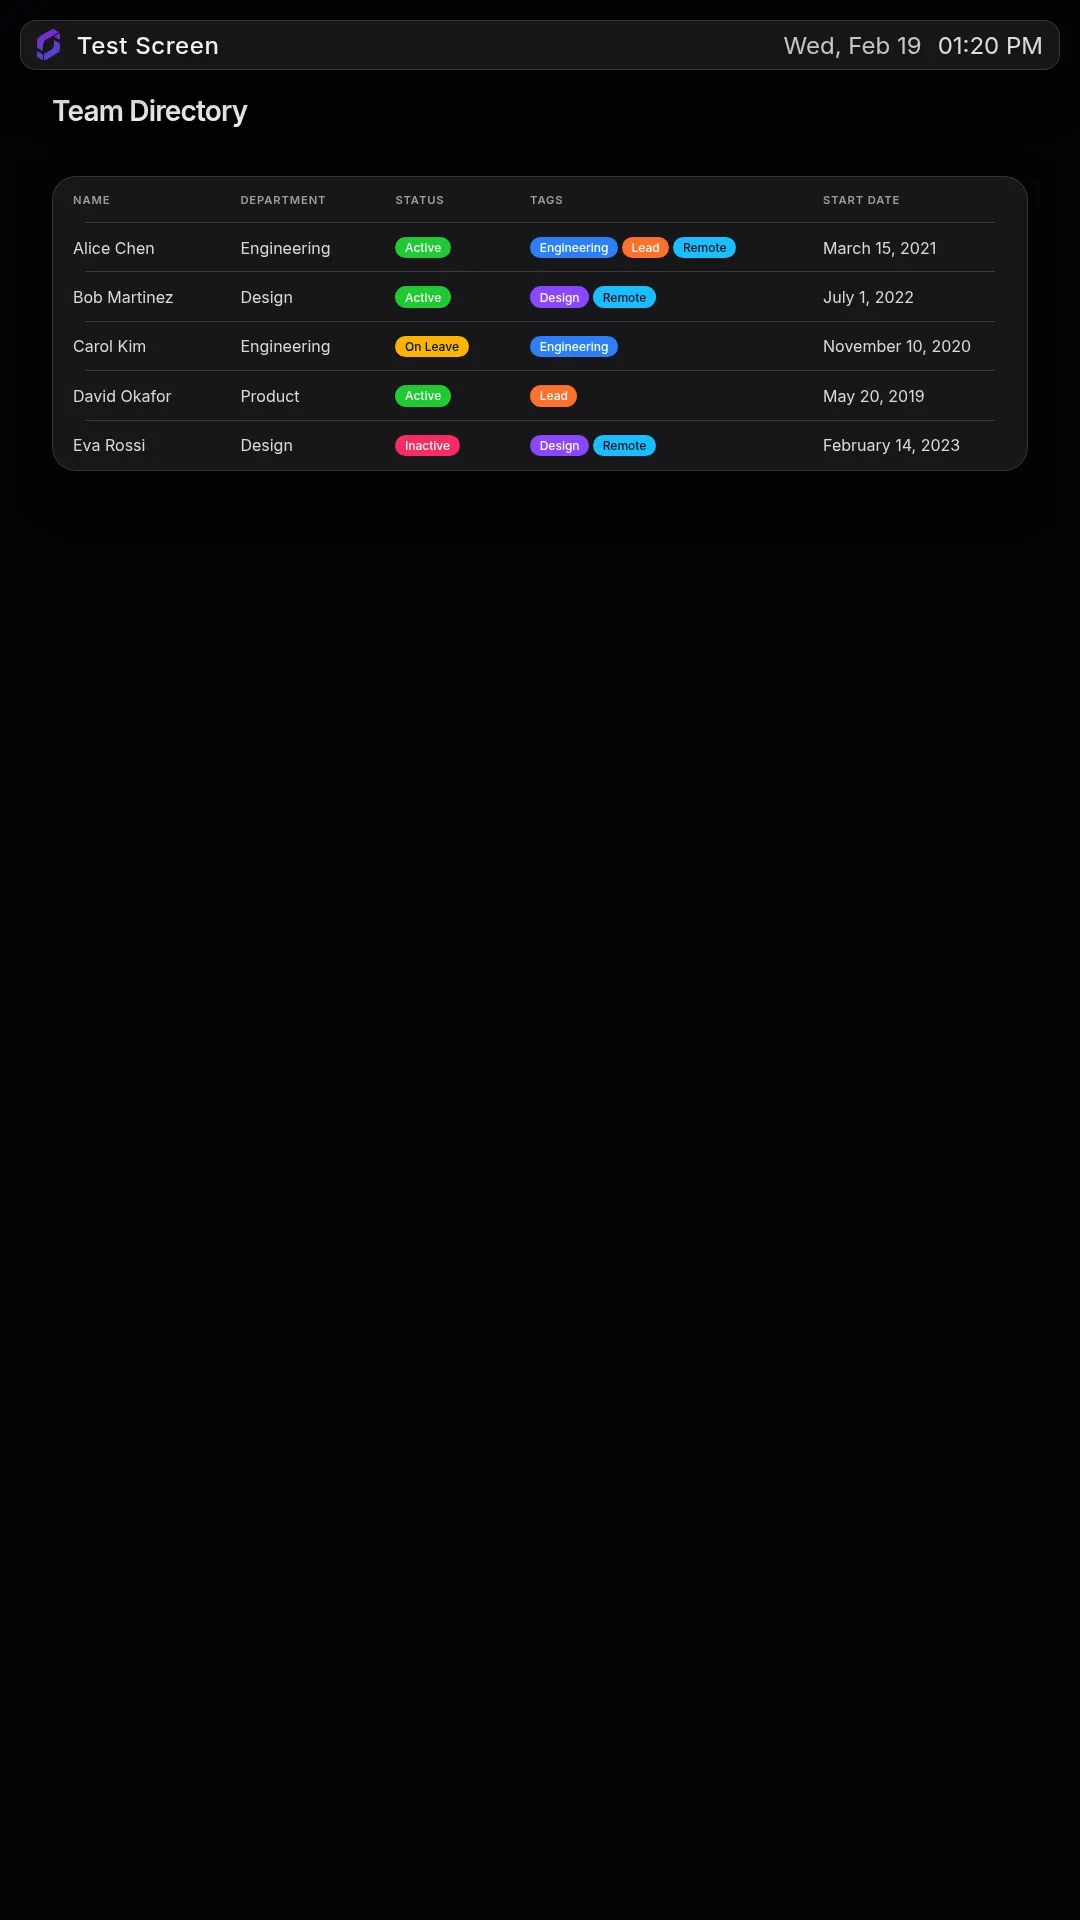
The Airtable Dashboard App brings your live base data directly to digital signage screens, making it easy to keep teams informed with up-to-date records from any grid or kanban view. Secure OAuth-based authentication means no credentials are ever stored or hardcoded, while a configurable refresh interval ensures your displays always reflect the latest data. Try the Airtable Dashboard App today to turn your Airtable bases into dynamic, always-on displays for offices, warehouses, and teams.
Display Airtable Data on Screenly
Step 1: Connect the Grafana Integration
Log in to your Screenly account.
Go to Integrations.
Click Connect next to Airtable.

A confirmation dialog will appear. Click Connect to proceed

Airtable will prompt you to authorize access. On the authorization screen, choose the scope of access to grant Screenly:
Everything you have access to: grants access to all current and future bases across your workspaces. Choose this if you want team members to be able to pick any base when installing the app.
Custom access: lets you select specific bases, interfaces, and workspaces. Choose this if you only want to expose the bases intended for digital signage display.

- Click Grant access to complete the connection.
NOTE: Only the account owner can view and connect the Airtable integration. Once the integration is added, other team members will be able to create and install the Airtable App on their own, and will only see the bases and views that were included in the access grant above
Step 2: Install the Airtable Dashboard App
Once the integration is connected, open the App Store.
- Search for the Airtable Dashboard App, click Create.
- Enter a Name for this App. [1]
- Select your Base [2] and View [3] from the dropdown lists.
- Click Install [4].

NOTE: Once the Airtable integration is connected, your bases and views are automatically retrieved. You can select them from the dropdown lists during app installation. Both grid and kanban views are supported.
Supported Views
The Airtable App supports the following view types:
- Grid — displays records as a table with rows and columns.
- Kanban — displays records as cards grouped by a field.
NOTE: A maximum of 100 records are fetched per refresh cycle. Tables with more than 100 records will be truncated.
Advanced Settings
The following optional settings are available when creating or editing an app instance:
| Setting | Description |
|---|---|
| Refresh Interval | How often (in seconds) to fetch updated data from Airtable. Default: 30. |
| Override Locale | Force a specific locale for date formatting (e.g. en-US, fr). Defaults to GPS-based detection. |
| Override Timezone | Force a specific timezone for date formatting (e.g. America/New_York, Europe/London). Defaults to the system timezone. |
| Display Errors | Show errors on screen for debugging purposes. Set to true to enable. Default: false. |