
Update: Screenly now offers a Browser Extension plugin and a JavaScript Injector. These tools simplify adding authenticated web pages, such as dashboards and internal tools, even for sites that do not support basic authentication.
One common question we get from customers who use their Screenly deployment to display company dashboards is: How do I make the digital signage player log in to my websites?
As much as we would like to say, “Just do this, and it will work,” the reality is much more complicated. There are products out there with significant engineering teams, such as 1Password, where one of their main features is to fill in credentials on a website. Even these dedicated teams often struggle with this task. The reason is that, while there are standards for user authentication, few of the top web properties have adopted these standards.
That said, I do have some good news. The tech-savvy reader may have noticed the technical details in the link from our recent Grafana announcement. In order to support Grafana, we had to add support for sending custom HTTP headers with the Screenly 2 Player. We spent a lot of energy implementing this functionality in a way that would work across multiple web properties, as this functionality is useful for more than just Grafana. However, we will start with Grafana in our guide below.
Authentication using a “Bearer Token”
One of the ways Grafana allows you to authenticate yourself is by using what’s known as a Bearer token. In simplified terms, a Bearer token acts as a combined username and password for web resources. Bearer tokens are more commonly used by programs rather than by end-users. In the case of Grafana, the program can use Bearer tokens to authenticate users and their dashboards.
Another common implementation of Bearer tokens is through JSON Web Token (JWT). Authentication frameworks such as Auth0 use this implementation.
Using Bearer tokens in Screenly
If you have a web service where you can log in to using a Bearer token, you can display webpages from that service with Screenly. Here’s how:
- Add the URL of the page you wish to display to your Screenly content library. If you get an error about the page being unreachable, ignore this error as it is expected if our system receives a 40x status code.
- After you added the URL to your Screenly content library, click on the content title.
- In the new page that loads, click the Advanced button.
- Click the + Add Header button.
- Type “Authorization” in the Header input field.
- Type “Bearer [your token]” in the Value input field. Do not include the brackets.
- Press Save on the bottom right of your screen.
As soon as your screens have synced up with your updated URL content and Bearer token, your screens should be able to display the webpage.
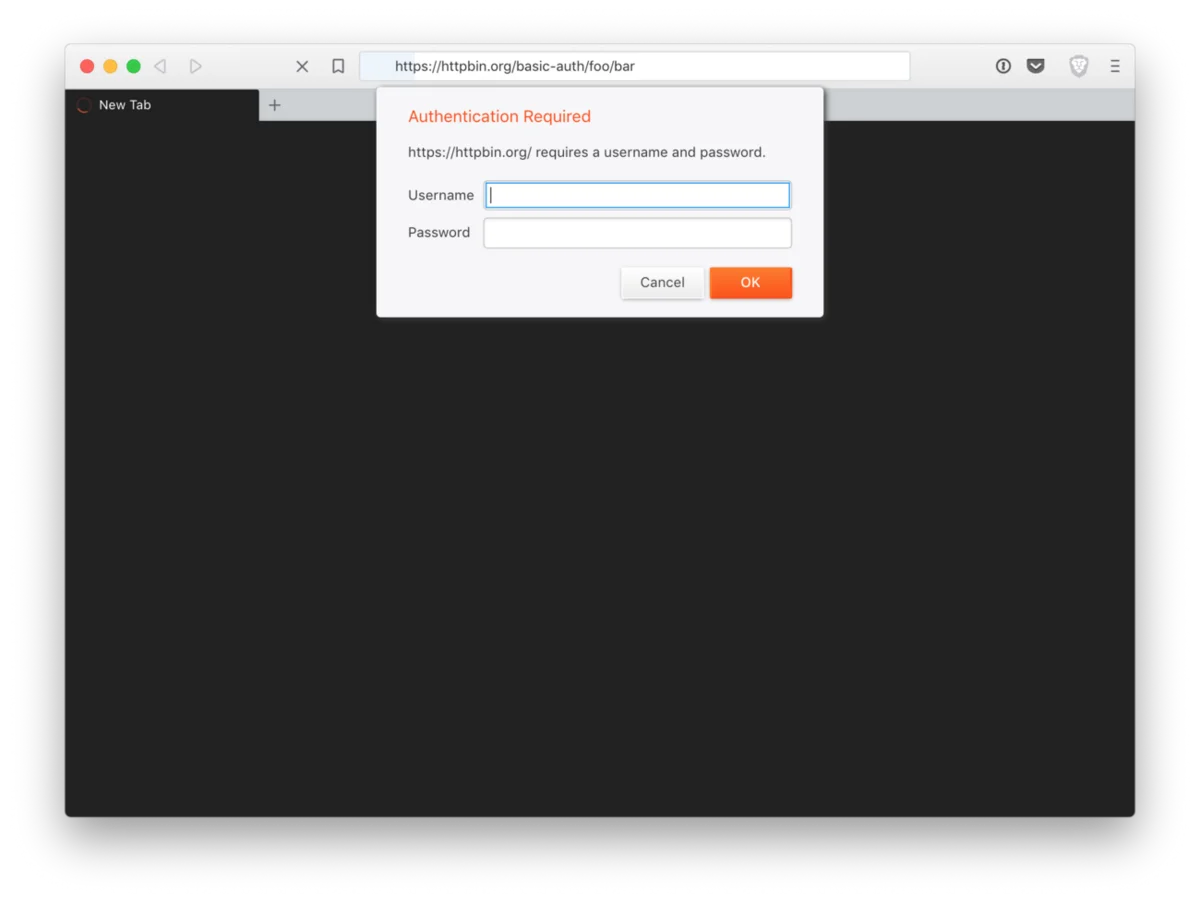
Authenticating using “Basic Auth”
Long-time internet users probably remember the username/password pop-ups that used to be the standard way of logging into a website. This standard is called Basic Authentication or Basic Auth for short. While it is no longer very popular among consumer websites (largely due to the usability and aesthetic elements), it is still widely supported across various web servers and platforms. Notably, the dashboard tool Nagios also uses Basic Auth.
Using Basic Auth in Screenly
As it happens, using Basic Auth is very similar to using Bearer tokens. They both use the authorization header, but the payload differs slightly. The value is simply Basic followed by the base64 hash of the username and password. There are tools out there that can do this for you, but, if you are a bit more careful and would like to do this locally (which yours truly recommends), you can do this using Python:
>>> import base64
>>> auth = base64.b64encode(b"YourUsername:YourPassword")
>>> print("Basic {}".format(auth.decode()))
Basic WW91clVzZXJuYW1lOllvdXJQYXNzd29yZA==
Alternatively, you can accomplish the same thing using good old Bash:
$ echo Basic $(echo -n "YourUsername:YourPassword" | base64)
Basic WW91clVzZXJuYW1lOllvdXJQYXNzd29yZA==
Once you have the string, complete the following steps:
- Add the URL of the page you wish to display to your Screenly content library. If you get an error about the page being unreachable, ignore this error as it is expected if our system receives a 40x status code.
- After you added the URL to your Screenly content library, click on the content title.
- In the new page that loads, click the Advanced button.
- Click the + Add Basic Auth button.
- Type “Authorization” in the Login input field.
- Type “Basic [your hashed credentials]” in the Password input field. Do not include the brackets.
- Press Save on the bottom right of your screen.
Screens that display the URL content will then be able to access the webpage and display your content.
Later on, we are going to implement this natively in the web app, but for now, this should do as a workaround.
Takeaway
While we are not able to support every type of authentication, we can log in to a large number of providers thanks to the fact that we support authentication using various HTTP Header mechanisms. We will keep looking at ways to improve our authentication mechanisms, and we hope to make additional steps to enable you to use Screenly to render content from even more sources.
If you got any questions, feel free reach out to us.
A simpler way to handle authenticated web pages
If you need to display web pages that require interactive logins, Screenly’s Browser Extension plugin provides a more flexible alternative to basic authentication.
The extension allows you to capture authenticated sessions directly from your browser and add them to Screenly as assets, making it easier to display protected web content on your screens.
Learn more: Use our browser extensions to add web page content to your digital signs