
Testing software is hard. Testing software that is running on a variety of different hardware is even harder. This is something that we have learned the hard way over the years through building Screenly. We’ve run into a number of issues since we first started working on Screenly that could have been prevented by having a proper hardware test bench. Unfortunately, a proper hardware test bench isn’t something that you can just buy as a service (at least not for the Raspberry Pi).
The very first test setup we had for Screenly was a single Raspberry Pi that I carried with me while living as a digital nomad and traveled around the world. This device was used for everything from testing the latest changes to debugging bugs for both Screenly OSE and Screenly (the paid version). Needless to say, it lived a hard life.
A few years ago, we built our first real test rig for Screenly. The initial test rig consisted of four Raspberry Pis (of various versions) that ran Screenly 24/7. Two of these Raspberry Pis ran against our staging environment, and the other two Raspberry Pis ran against our production environment. We later upgraded these Raspberry Pis to Raspberry Pi 3 Model B’s. This setup served us well, and we were able to spot a number of bugs over time.
However, after an incident earlier this year, we decided that we needed to step up our Quality Control (QC) efforts and invest in a larger test environment. As a result of these efforts, we now have over 20 different Raspberry Pis running Screenly 24/7.
The new Screenly test rig
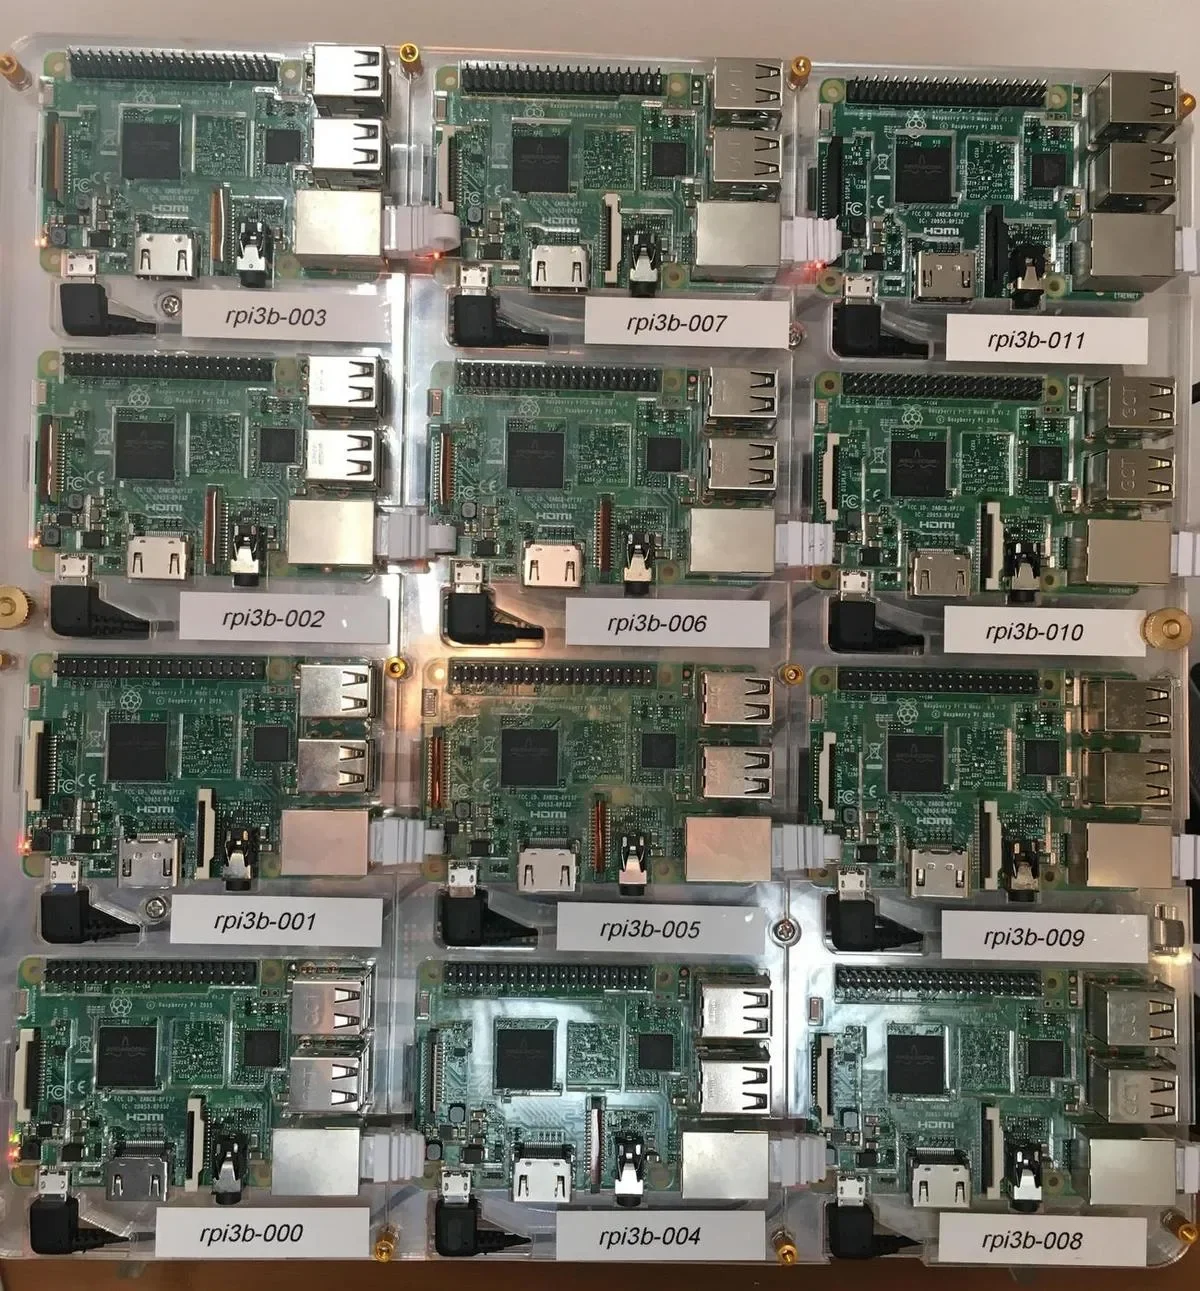
The goal of the new Screenly test rig is to have a large number of devices continuously running Screenly in a variety of environments. This allows us to increase the probability of catching bugs.
The current Bill of Material (BOM) for the Screenly test rig is:
- One “tile” from resin.io’s beast, which includes 12 Raspberry Pi 3 Model B
- Two Raspberry Pi Compute Module 3
- One 24 port gigabit switch
- One Intel NUC running pfSense, which acts as a firewall and VPN gateway
This is just the start of our proper QC journey, and we are planning to add additional hardware going forward.
The new Screenly OSE test rig
Since we need to support more hardware in Screenly OSE, the test setup looks a bit different (and a bit more primitive).
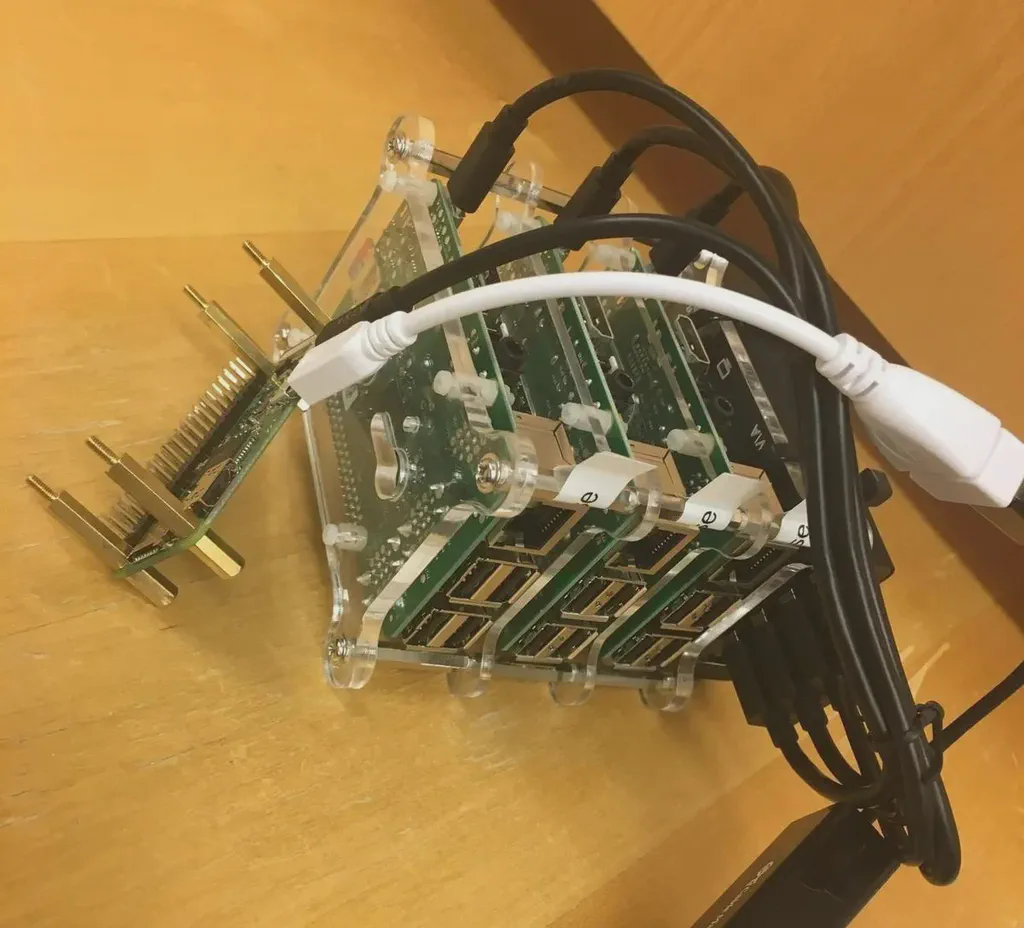
What you can see in the image above is:
- One Raspberry Pi Model B+
- One Raspberry Pi 2 Model B
- One Raspberry Pi 3 Model B
- One Raspberry Pi Zero W+
Each device is remotely accessible to developers on the Screenly team. This means that every new release can be tested on each hardware version. As new hardware versions are introduced, we will add them to the test bench for Screenly OSE too.