Adding Google Slides to a digital sign is easy with Screenly. Check our step-by-step video above or read the detailed article below to get started.
Google Slides is a free web application that makes it easy to create visual content for slideshows. Google Slides comes packed with free design themes, fonts, and customization features so that you can make each presentation an expression of yourself and your ideas. If you need some guidance on where to start or how to structure your presentation, Google Slides also provides pre-made templates for common presentation types, such as business pitches or portfolio displays. Google Slides also works across devices so that you can easily create, edit, and view your visual content on-the-go.
While Google Slides is useful for making presentations for day-to-day business use, it is also an excellent tool for creating digital signage content. Google Slides makes it easy to arrange, edit, and tweak content for the big screen. Below, we provide a step-by-step guide on how to display Google Slides digital signage content on your screen.
Step-by-Step process for displaying Google Slides with Screenly
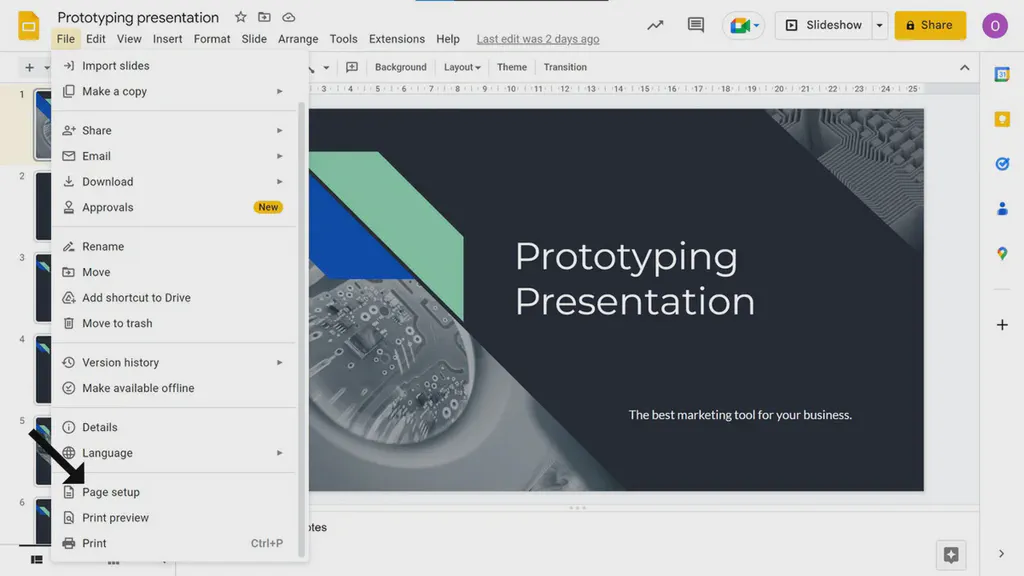
First, open your Google Slides presentation online. Next, it is essential to set the size of your slides to “Widescreen 16:9”.
To adjust slide dimensions, click “File” within your Google Slides document. Then, click “Page setup” towards the bottom of the menu.
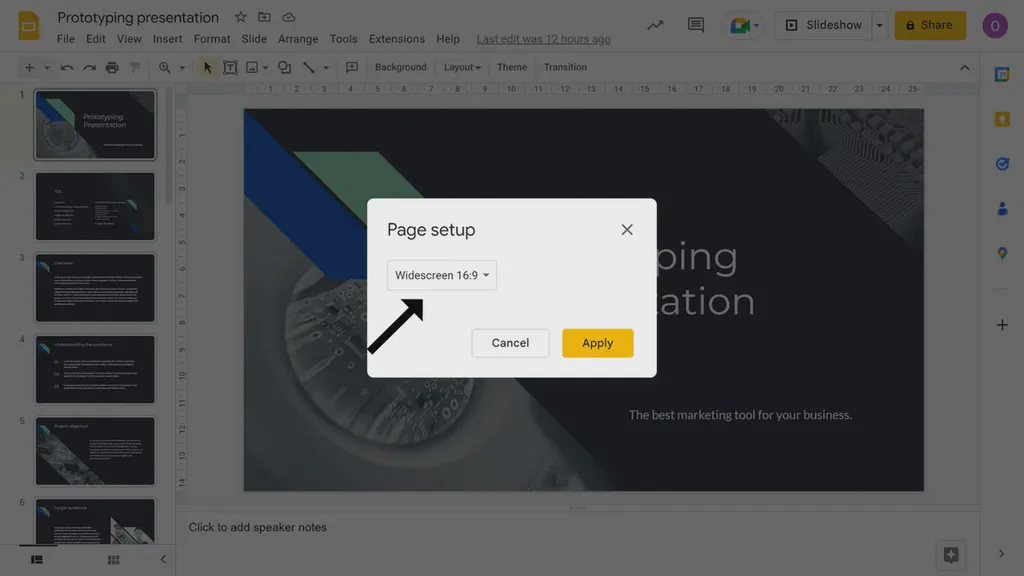
Check to make sure the dimensions are set to “Widescreen 16:9”. This setting optimizes your Google Slides content for Screenly digital signage displays. After your presentation is set to “Widescreen 16:9”, go through your slides and make sure to arrange your content just as you want to view it on your screen.
The next step is to adjust a few settings so that your Google Slides display smoothly on your digital signs. To do so, click “File” on the top left of your Google Slides document. Click the “Share” option from the dropdown menu, and then click the “Publish to the web” option from the submenu.

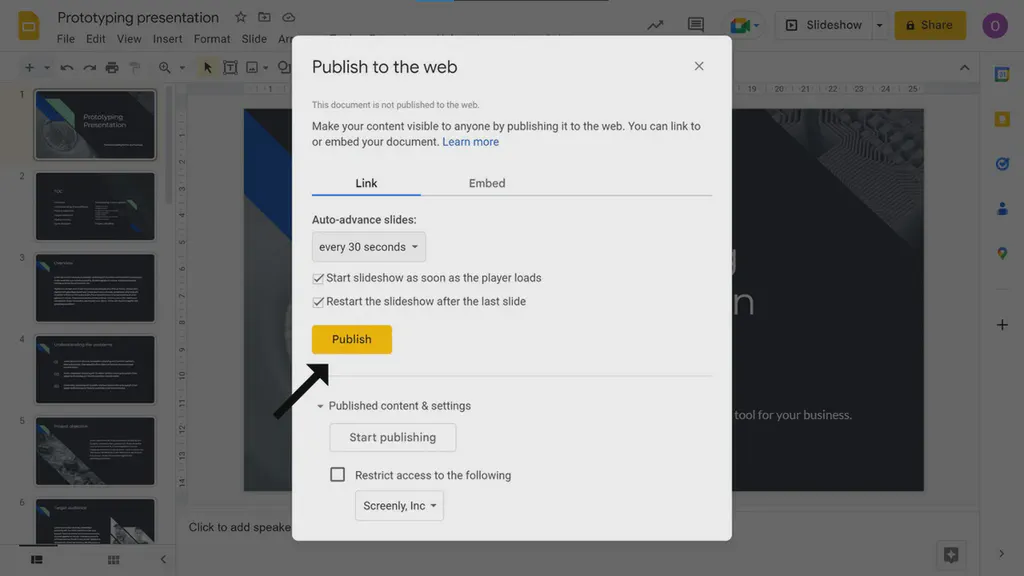
On the new popup window, select a time duration for each slide to display in the “Auto-advance slides” section. It is important to leave enough time for viewers to read each slide. Next, select the “Start slideshow as soon as the player loads” option and the “Restart the slideshow after the last slide” option.
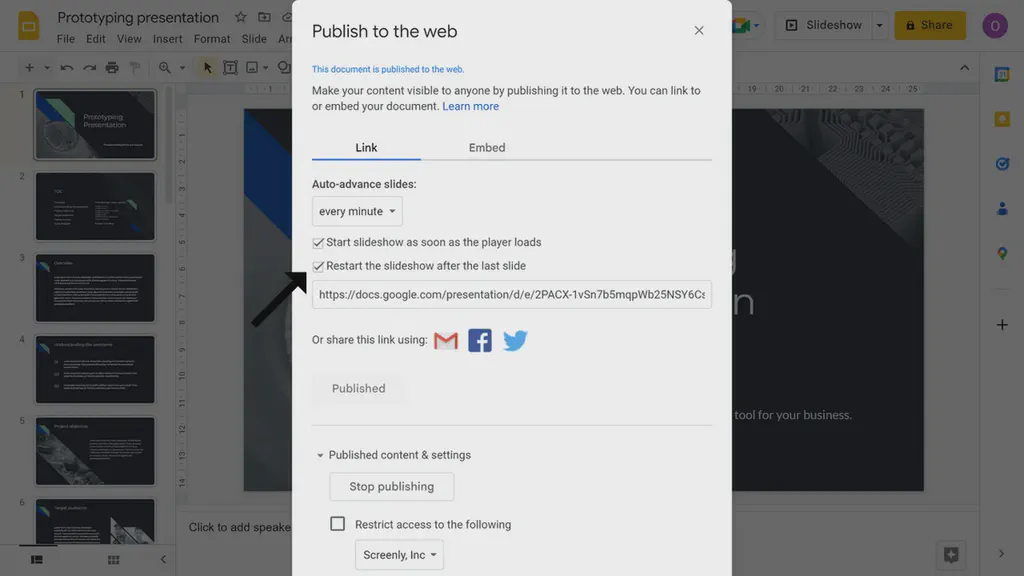
Then, click on “Publish” to generate the public share link URL.
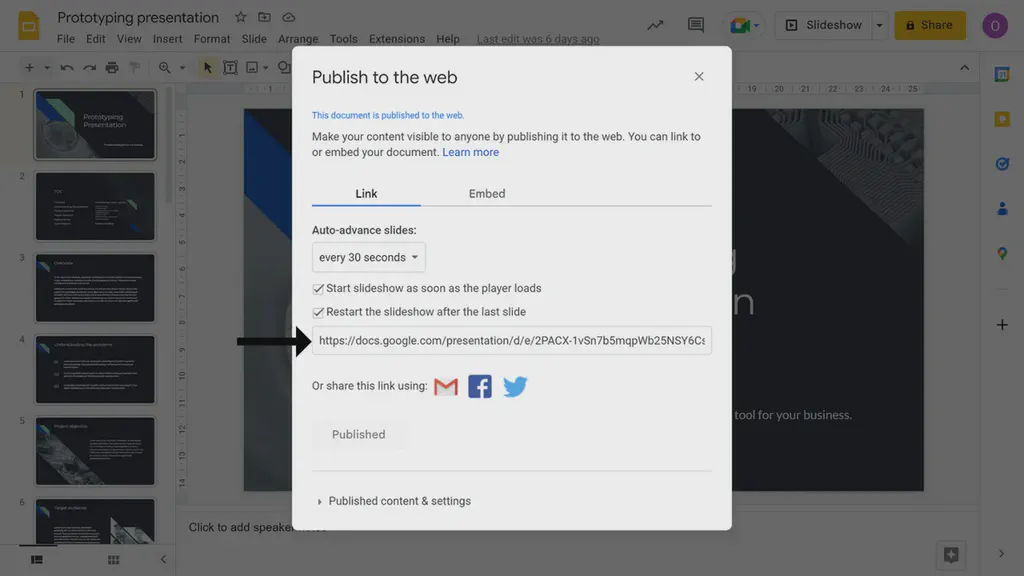
Please take note of the time duration you set for each slide and the number of slides in the presentation. You will need this information when configuring the content within the Screenly interface. Next, copy the generated URL to your clipboard.
You are now ready to upload your Google Slides as digital signage content within your Screenly account.
To do so, log in to your Screenly account here. If you do not have a Screenly account, register for a 14-day free trial.
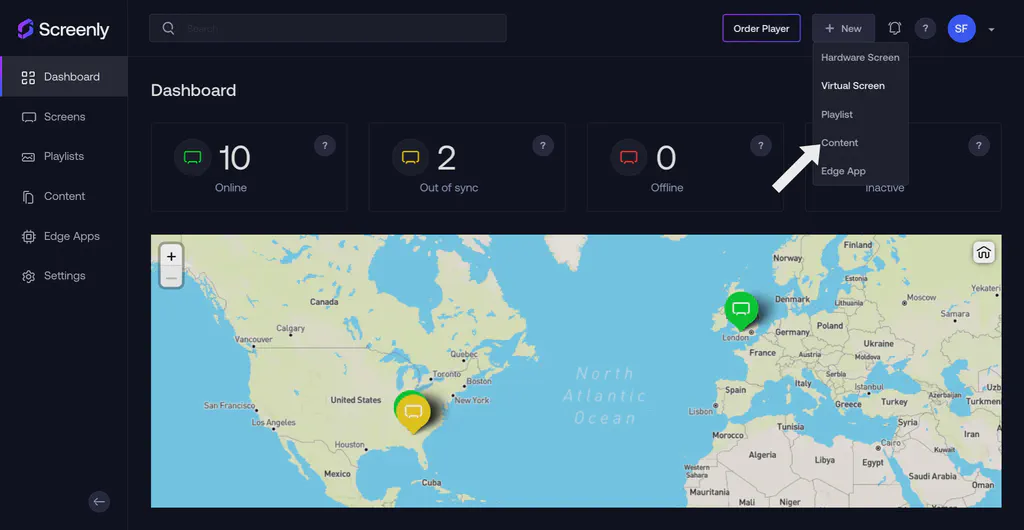
After logging in to your Screenly account, click on the “+ New” button on the top right of your screen. Then, click on the “Content” tab in the dropdown menu.
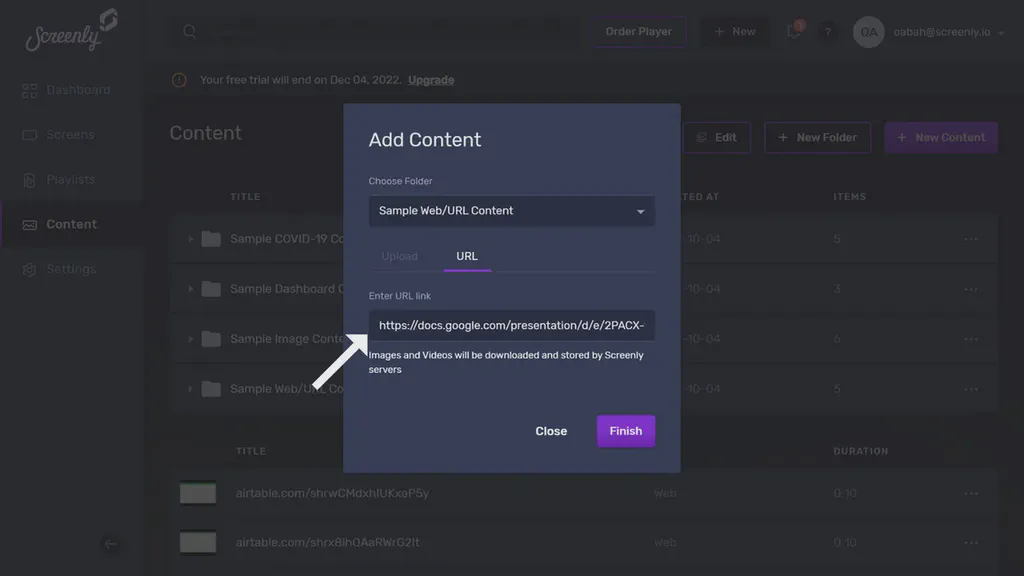
Next, click the URL tab in the popup modal and paste the public URL into the “Enter URL link” input field. Be sure to click “Finish” after you successfully add the URL.
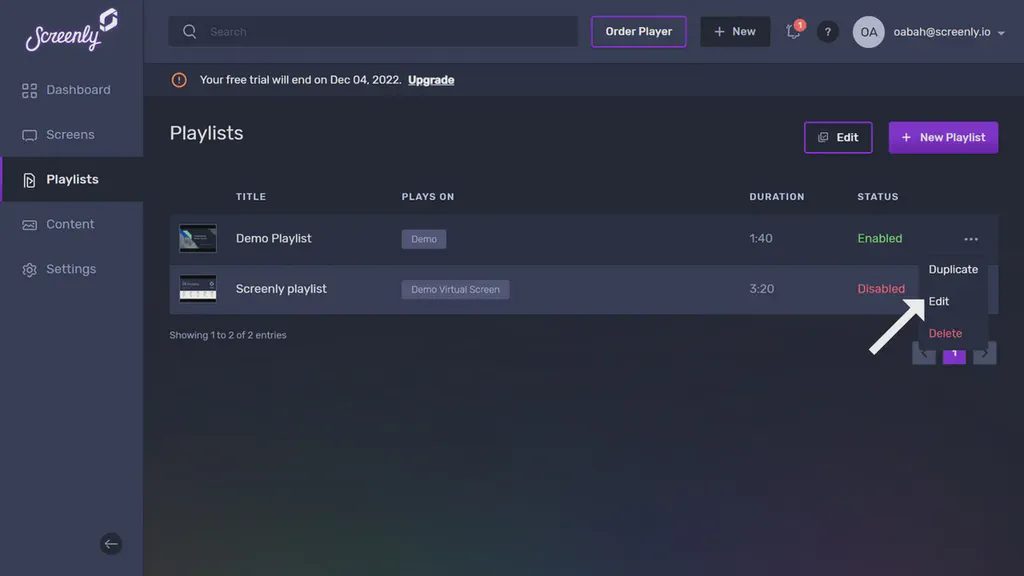
The next step is to add your Google Slides content to a playlist. Click the “Playlists” tab on the left-hand side of your Screenly dashboard. Then, click the three dots to the right of the playlist you want to edit. Click “Edit” in the dropdown menu.
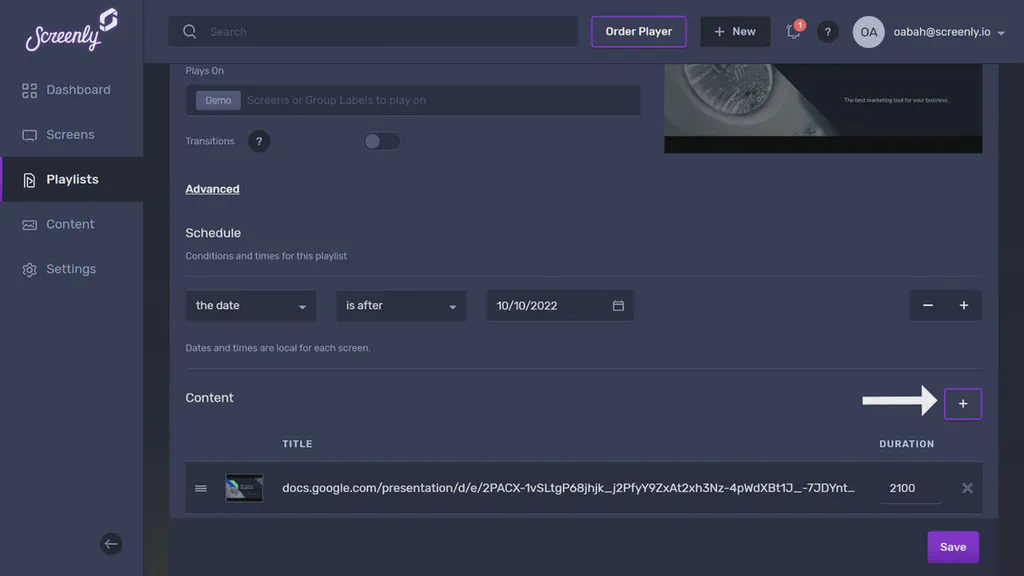
Within the playlist, click the “+” icon in the “Content” section title. After clicking the icon, you will see a popup that will allow you to add the Google Slides URL to the playlist from your content item collection.
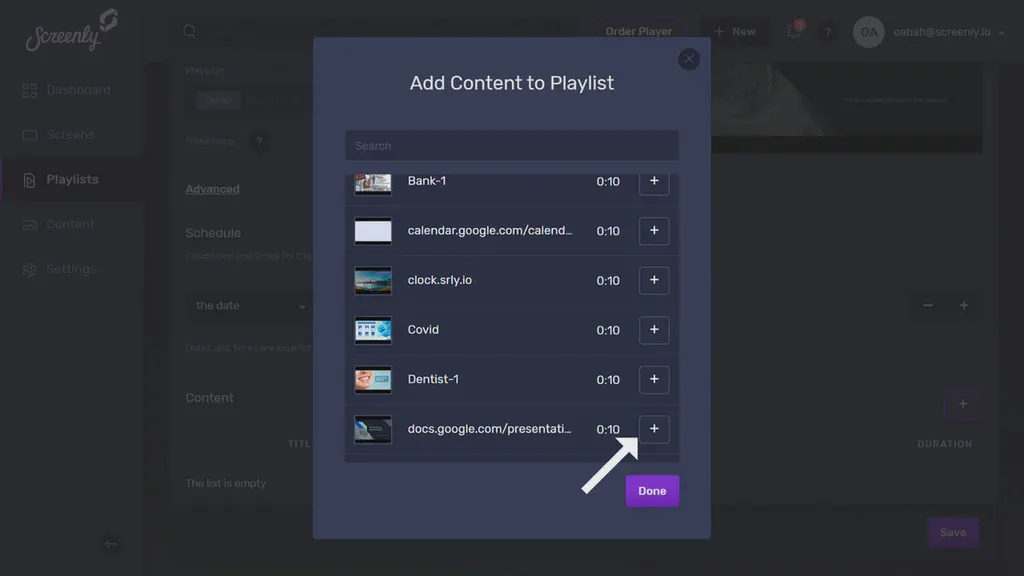
In the new “Add Content to Playlist” popup, find your Google Slides content and click the “+” button next to the file. Then, click the “Done” button below. You will then see your Google Slides in the playlist’s content section.
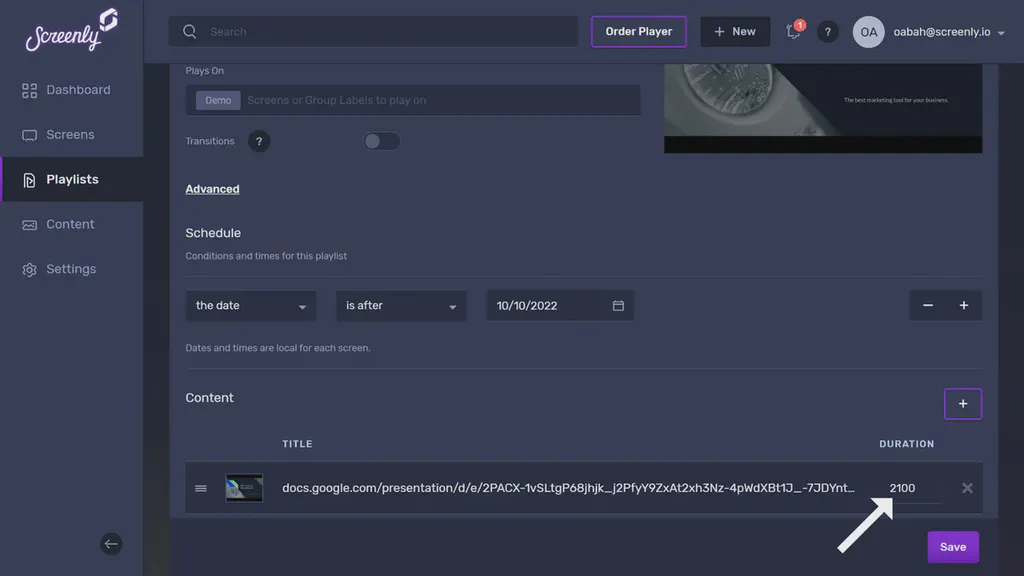
Next to the Google Slides listing, change the listing’s duration to the total time of your Google Slides presentation. You will need to multiply the number of slides by the number of seconds for each slide. The number of seconds for each slide is what you put in the “Auto-advance slides” section in the Google Slides “Publish to the web” menu. Be sure to click “Save” on the bottom right when you are done.
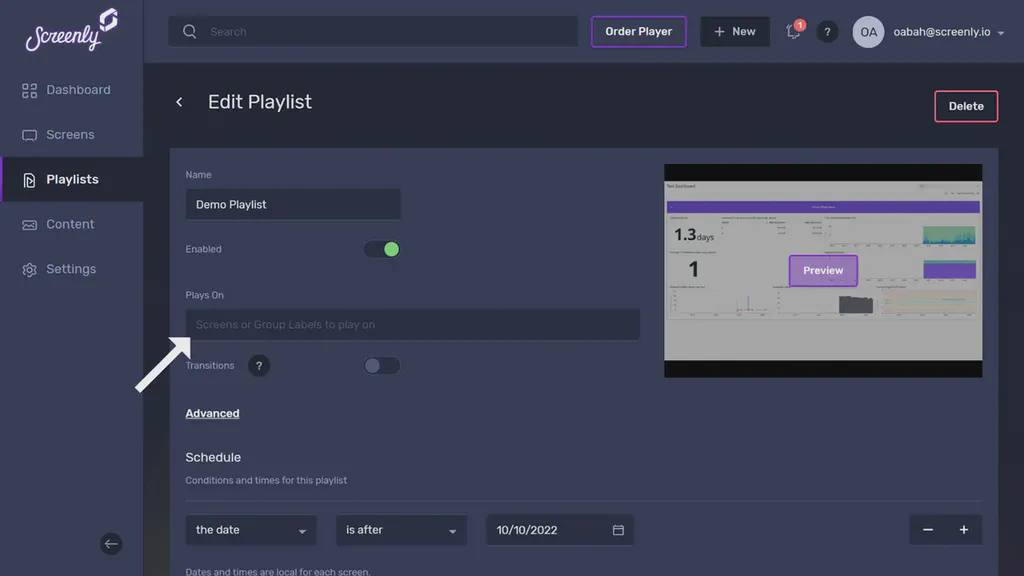
To assign the playlist containing the Google Slides content to a screen, click on the “Plays On” input field in the “Edit Playlist” section.
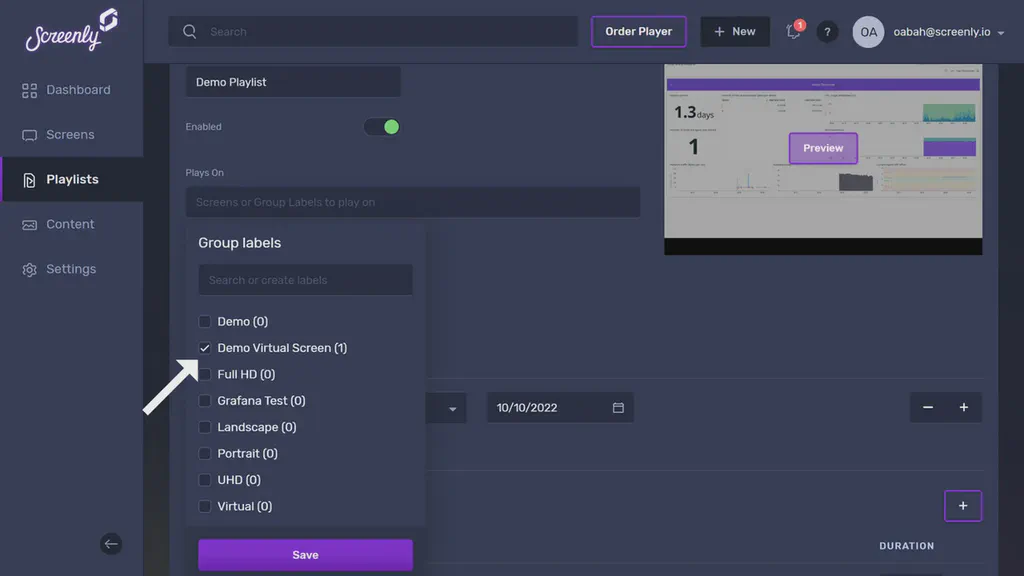
A dropdown will appear containing all your group labels and screens. Select the screen or group of screens that you want to display the playlist.
Once you assign the playlist containing the Google Slides URL content to your screen, your Google Slides presentation will display on your TV or monitor in just minutes.
That’s it! If you followed the steps above, you are now displaying Google Slides on a digital sign with Screenly.
Get started
Ready to give Screenly a shot? Get started today with a 14-day free trial.