
The holidays are here! Yes, while it is hard to believe, it’s that time of year again. Loved ones are traveling, and Christmas shopping is in full swing. Depending on where you are, it’s either snowing or very cold outside. One thing that is likely missing, however, is a warm, crackling fireplace. While central heating and strict fire codes have significantly lowered the number of fireplaces in homes and apartments, you do not have to go without a fireplace during this holiday season. In this article, we will show you how to set up a virtual fireplace with a Raspberry Pi and your home TV. Perhaps most importantly, if you’ve ever used your Smart TV or Apple TV/Chromecast to display a fireplace video from YouTube, you know that even those long 1 hour videos do come to an end. When they do, you need to dig out the remote to resume it. Using the technique in this article, that is solved problem as your fireplace video(s) in a loop without requiring manual interaction so that you can focus on the Hygge.
To build your virtual fireplace using with a Raspberry Pi HDMI display, you will first need digital signage software. This software allows your Raspberry Pi to process and render video via HDMI output to your TV or display screen. You can get this needed software for free with Screenly’s open source digital signage software Screenly OSE. Screenly OSE will work on any version of the Raspberry Pi. In this article, we’ll show you how to build a virtual fireplace with your Raspberry Pi and Screenly OSE for the 2018 holiday season.
Step One - Flash digital signage software to your SD Card
To get started with Screenly’s open source digital signage software, first download the Screenly OSE disk image from GitHub. Once you download the disk image, flash your Raspberry Pi’s SD card with the disk image using open source software such as Etcher. You can then boot up your Raspberry Pi device and connect it with your screen using each device’s HDMI ports. Next, follow the on-screen instructions to connect your Raspberry Pi to your local WiFi network or connect directly using an ethernet cable. You can find a step-by-step video on how to flash Screenly OSE digital signage software to your SD card below:
You can also download Screenly OSE using NOOBS or with Resin.io (now named Balena), and you can find more information on how to do that here.
Step Two - Find your ideal virtual fireplace video
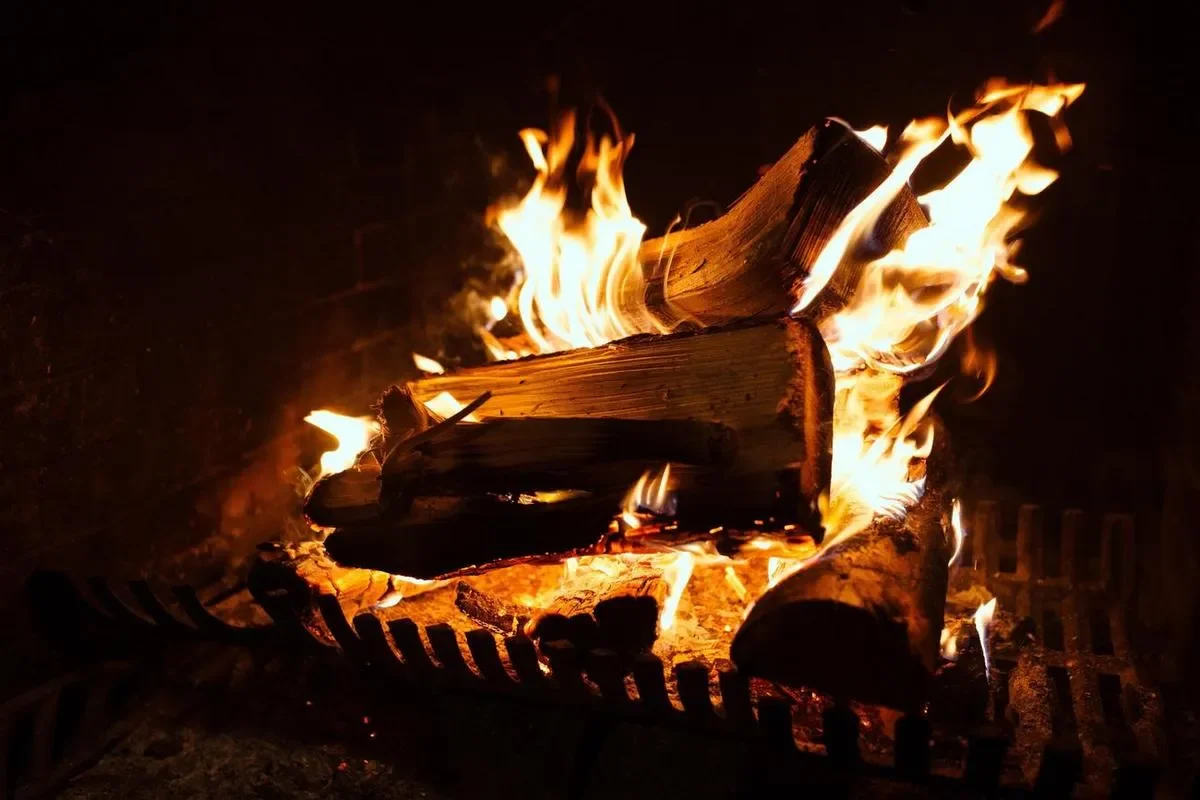
Next, you will need to find your ideal virtual fireplace video. There are a variety of different fireplace styles you can choose from on the stock photo and video site Pixabay. There are videos of roaring fireplaces with multiple logs and intense, crackling fire sounds. There are also videos of more subdued indoor fires with just a few embers and the occasional “pop.” You can browse a number of these fireplace videos that are free for download on Pixabay here.
A key feature of these Pixabay videos is that they are each under a CC0 Creative Commons license. This license means that you are free to use the videos for personal or commercial use, and you do not have to attribute the original author. This license is important with digital signage on the Raspberry Pi as video assets are locally cached on your Raspberry Pi device. This local cacheing is done to minimize internet usage and allow video playback even during network downtime. While the local cacheing is useful from a technical perspective, storing videos can be problematic with a variety of media licenses. Additionally, it is often unsightly and challenging with a digital sign to source the author in the corner of your screen. Accordingly, it is best to stick with CC0 Creative Commons licensed video, and Pixabay has a wide selection for you to choose from on their website.
If you are using the screen for personal use, you could also use a YouTube video. There are a lot of them available, and Screenly OSE does support playing YouTube videos natively.
Step Three - Add your virtual fireplace video to your digital sign
Once you select and download the video for your indoor virtual fireplace, you need to add this video as an asset to your Screenly OSE account. To complete this step, navigate to the Screenly OSE web interface and click the “+ Add Asset” icon. Next, click the “Upload” tab to upload your selected video. Set the video asset length to zero seconds as this will trigger Screenly OSE to play the entire video. You can view a step-by-step video on how to add a digital signage asset below:
Next, you will need to click the “On” icon to move the video to the “Active Assets” list. Once this step is completed, you will see the active assets display on your screen.
You have a virtual fireplace on your Raspberry Pi HDMI display
You did it! You are now ready for the 2018 holidays with your new virtual fireplace powered by your Raspberry Pi. If you want to change the style of your TV virtual fireplace, simply remove the current virtual fireplace video and follow step two and three with the new video. Once you have your virtual fireplace up and running, be sure to share your Raspberry Pi fireplaces with @ScreenlyApp on Twitter.