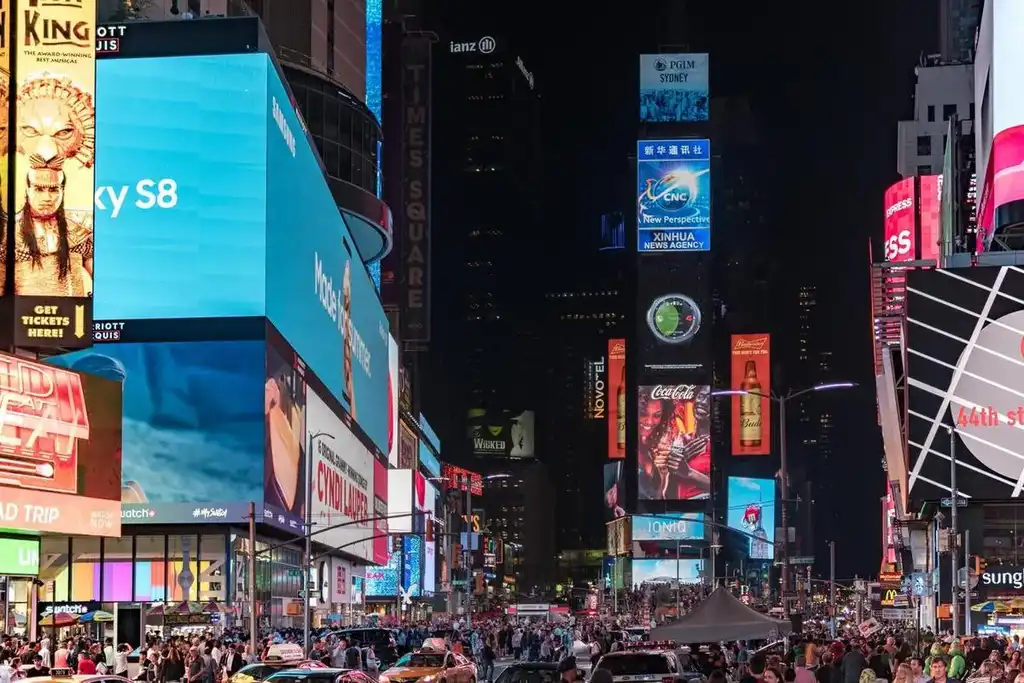
Screenly makes it easy to display the content you care about on a digital sign. A digital sign can be any TV, monitor, or LED display. If you are looking to get started with LED digital signage, Screenly can help you get started quickly. In the post below, we cover important steps and considerations for setting up a digital signage LED display. The content below is quite technical, so if you need assistance with your LED display, do not hesitate to reach out to Screenly Support.
How Screenly works with LED digital signage
Screenly provides both the digital signage player and software that are necessary for a person to deploy and manage an LED digital sign. For digital signage player hardware, Screenly offers the Screenly Player, which is a small, palm-sized device that renders content to your LED screen. The Screenly Player is Raspberry Pi-based and can render images, videos, and even webpage content in beautiful Full HD resolution.
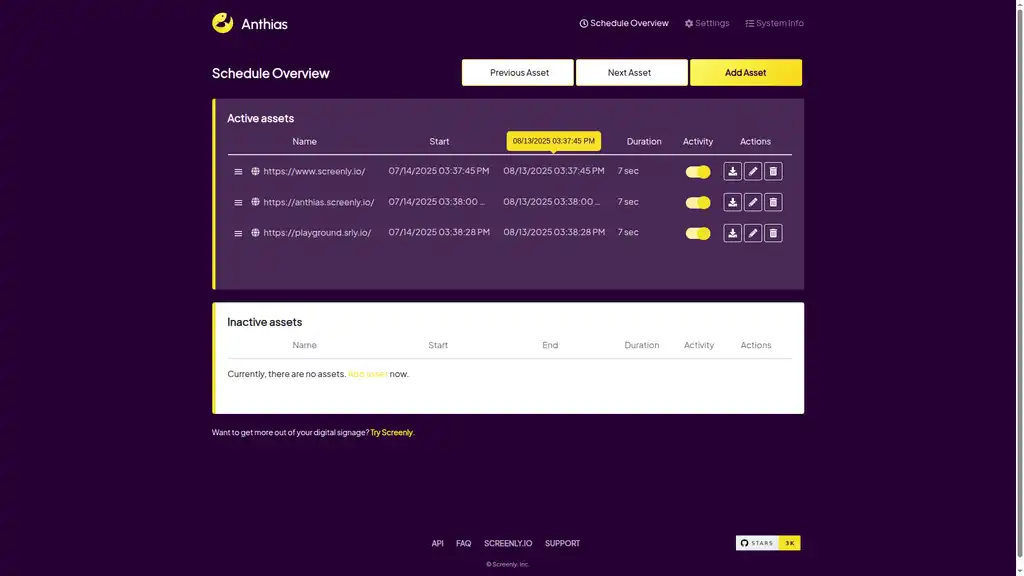
Screenly also provides LED digital signage software. With digital signage software, users can manage the content on their signs remotely. This feature means that users can log in to their online Screenly accounts from anywhere with an internet connection. Users can then change out the content that shows on each sign. Users can also organize content into playlists and set schedules for each playlist.
Unlike a regular TV, a billboard style LED panel is a bit more complicated to setup. In the case of a regular monitor, you simply connect the Screenly player directly to your monitor using an HDMI cable. This is not the case for an outdoor LED screen.
To drive an LED panel, you usually need the following:
- A digital signage player (such as the Screenly Player)
- A video processor unit (also called Video Control Box)
- One or more LED panels (such as a P10 LED panel)
- P10 means that distance between each LED pixel (pixel pitch) is 10mm
The digital signage player is connected to the video processor unit over HDMI, which is then responsible for sending the signal out to the LED panel(s). Since you can configure this in a large number of ways, this setup requires a fair bit of configuration. You will normally need to configure your video processing unit for your LED configuration (e.g. 1x2 or 2x2) using the accompanied software.
Once you have configured the processor unit, you should be able to connect your digital signage player and see the picture. Depending on the setup, you might only see part of the picture (e.g. if you are inputting a 1080p feed, but your have less screen real estate than this on the LED panels).
Working with an LED panel setup may also require a bit of manual configuration on the digital signage player side too. If you have any questions, our support is happy to help.
Do note that most LED panels will not offer the resolution anywhere near a regular monitor. While even an entry level desktop monitor will support resolutions like 1920x1080 pixels (1080p), an LED panel might have a resolution of 192x192 pixels.
This means that if you are sending a 1080p signal to the video processor the video processor with a single LED panel attached, you will most likely see the left-hand side of the picture. Also, since the video processor had to scale down the signal, this also means that you are losing a lot of details. It is therefore very important that you design your content for this setup rather than for what looks good on your desktop screen.
Getting started with LED digital signage and Screenly
LED screens are great options for large displays where high screen resolution is not a necessary feature. Also, exterior LED signs work great for outdoor digital signs and displaying content in extremely bright environments.
To get started with LED screen digital signage, the first step is to sign up for a 14-day free trial with Screenly. You can check out our LED digital signage software for yourself and take a look at our advanced digital signage management features. The next step is to purchase a Screenly Player and make the necessary adjustments so that is compatible with your LED digital sign.
If you are technically proficient, feel free to use the above steps to deploy your LED digital signage. If you need assistance or have questions about using Screenly with your LED signs, feel free to reach out to Screenly Support Screenly Support at any time.


