We are today super excited to announce the Screenly CLI. While the CLI is still in beta, we have big plans for it. As developers ourselves, we frequently use CLIs when interfacing with developer focused products. Regardless if it is a cloud vendor (Google, Amazon etc) or a payment provider (Stripe), a CLI makes it easy to both document and apply changes.

As we are starting to roll out features that we have been working hard on behind the scenes, it will become evident why the CLI is so important.
A CLI provides a happy medium between manual (e.g. a web interface) and fully programmatic (API). Interfacing with an API directly is often too complicated when you just want to automate a simple task. However, firing off a few commands in a terminal that can later be automated in a simple shell script is far quicker even for seasoned developers.
Technical Details
When we started scoping out the CLI internally, we quickly made a few decisions:
- The CLI should be fully open source and available on GitHub.
- We should write the CLI in Rust such that it can be distributed in a single binary and easily be cross-compiled for multiple platforms.
- We should use the CLI to dog-feed our v4 API (based on PostgREST) to the greatest extent possible.
Current Status
At this point, you’re able to log in and interact with screens and assets using the CLI.
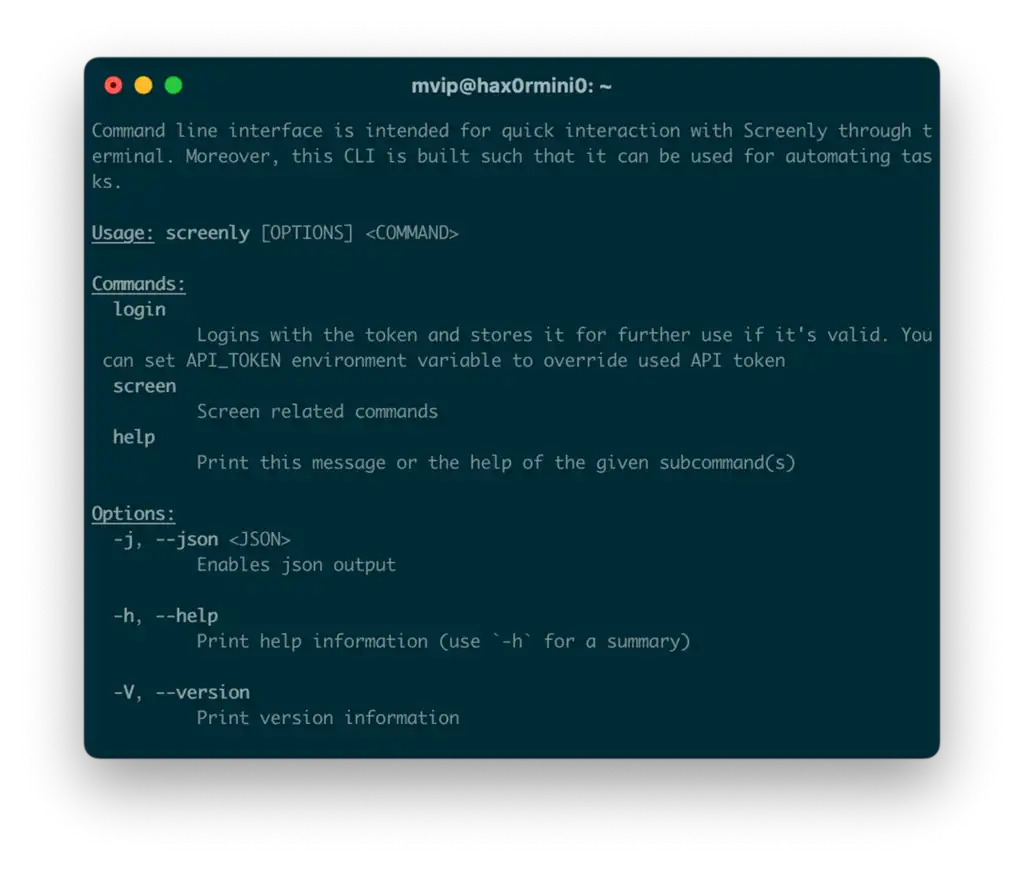
$ screenly
Command line interface is intended for quick interaction with Screenly through terminal. Moreover, this CLI is built such that it can be used for automating tasks.

Usage: screenly [OPTIONS] <COMMAND>

Commands:
  login
          Logins with the token and stores it for further use if it's valid. You can set API_TOKEN environment variable to override used API token
  screen
          Screen related commands
  asset
          Asset related commands
  help
          Print this message or the help of the given subcommand(s)

Options:
  -j, --json
          Enables json output

  -h, --help
          Print help information (use `-h` for a summary)

  -V, --version
          Print version information
What you might have spotted the built-in --json feature. By default, the CLI will output human readable content. However, should you want to parse the content programmatically, using JSON is much more reliable. For instance, you could pipe the output to jq and extract a particular value (such as the UUID of a given screen).
Moving on to the actual screen verb, we can perform some handy operations:
$ screenly screen
Screen related commands

Usage: screenly screen <COMMAND>

Commands:
  list    Lists your screens
  get     Gets a single screen by id
  add     Adds a new screen
  delete  Deletes a screen. This cannot be undone
  help    Print this message or the help of the given subcommand(s)

Options:
  -h, --help     Print help information
  -V, --version  Print version information
For instance, you could easily add a new screen, or perhaps clean up older unused screens directly from your terminal.
As mentioned above, you can use the --json argument to easily parse ouput wiht jq. Let’s say we want to list all our screens but only show the status, name and what hardware they are running on. Not a problem.
$ screenly screen list --json | jq '.[]|[.status, .name, .hardware_version]'
[
  "Offline",
  "My Lab Screeen",
  "Raspberry Pi 3B+"
]
[
  "Online",
  "Another Lab Screen",
  "Raspberry Pi 3B+"
]
[
  "Online",
  "Dashboard Screen",
  "Screenly Player Max"
]
[
  "Online",
  "Pi 4 Test Screen",
  "Raspberry Pi 4B (2GB)"
]
[
  "Online",
  "x86 Test Screen",
  "Screenly Player Max"
]
Next, we have assets. With the asset verb, we’re able to do neat things like uploading assets.
$ screenly asset
Asset related commands

Usage: screenly asset <COMMAND>

Commands:
  list    Lists your assets
  get     Gets a single asset by id
  add     Adds a new asset
  delete  Deletes an asset. This cannot be undone
  help    Print this message or the help of the given subcommand(s)

Options:
  -h, --help     Print help information
  -V, --version  Print version information
To upload an image, you can just run:
$ screenly asset add ~/Desktop/My-image.webp 'My Image'
[...]
Going Forward
While the CLI is still very much in beta, we would love to get your input. If you find any bugs, please open up an issue on GitHub.
To get started, see the download section.


